Tag It and Bag It: Archeology Lab
Download lesson plan and included materials
Subject: Math
Grade: 6th
Author: Marilyn Eisenwine, revised by Mary Rodriguez (2023)
Time Duration: One 45-minute class period
Overview: Analyzing artifacts in the laboratory is an essential step in archeology. This is often the most time consuming and expensive step in archeological investigation. Through analysis, archeologists learn much information about artifacts and the people of the past who made them. One of the first steps in analysis is to sort and categorize the artifacts, which students will do in this lesson. Working in cooperative groups, students will analyze and categorize trail mix or snack mix as archeologists do with artifacts. Next, students count items and fill out charts similar to those used at an archeological lab. When the entire class has completed their records, totals are compiled from charts to create a graph.
TEKS: Mathematics, Grade 6
- (1A), apply mathematics to problems arising in everyday life, society, and the workplace
- (12A), represent numeric data graphically, including dot plots, stem-and-leaf plots, histograms, and box plots
- (13A), interpret numeric data summarized in dot plots, stem-and-leaf plots, histograms, and box plot
Materials:
- Artifact Analysis Forms (included)
- Plastic Bag Forms (included)
- Trail mix or snack mix (Native Americans probably ate trail mix" which included nuts and dried berries)
- Brown lunch bags prepared with site information (see Artifact Analysis Form for site number information)
- Ziploc sandwich bags
- Graph paper
Activities and Procedures:
Step 1: Prepare brown paper lunch bags for each group of 4-5 students. Put about 1/2 to 1 Cup of trail mix in each bag. On the outside of the bag, use a black marker to write the site number (see Artifact Analysis Form), date, excavator's names (students), and lot number (assign a different number to each group.
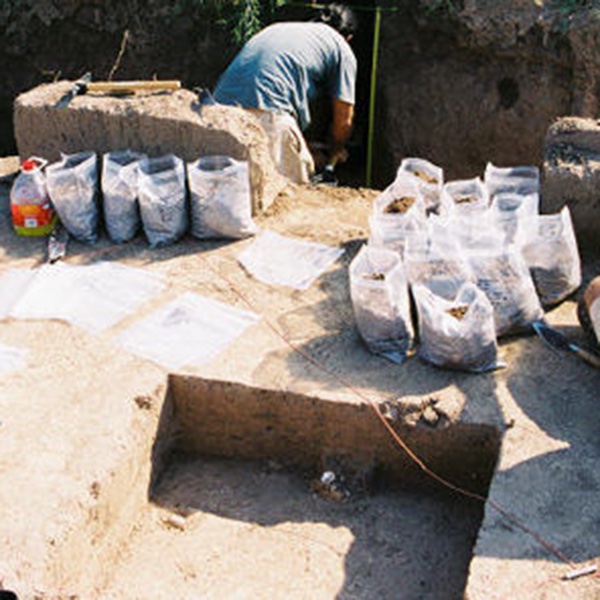
Step 2: The teacher explains that, at an archeological site, archeologists must keep accurate records of what is found. On each level of the dig, artifacts are placed in brown paper bags with detailed information about the location after the area has been drawn on a grid. When the objects get to the archeology lab, people must sort through the items, carefully recording numbers and identification of artifacts. The same information is recorded in several places to safeguard the data. Today, students will do this same task using trail mix.
Step 3: Each cooperative group is given a brown lunch bag of trail mix or snack mix, with information written on the bag (see Artifact Analysis Form). It is recommended that students first be allowed to taste the mix, so they will not be tempted to eat from their artifact bag.
Step 4: One student in each group is designated as recorder. Information from the bag must be recorded on the Artifact Recording Form for each group.
Step 5: Students sort mix into categories (i.e. raisins, peanuts, sunflower seeds). Each category must be placed in a separate Ziploc sandwich bag, along with a Plastic Bag Form that records what kind of items and how many are included.
Step 6: The recorder lists information for each category on the Artifact Recording Form, then places the plastic bags back in the paper bag. The brown bags and recording forms are turned in to the teacher.
Step 7: When all the groups have completed their analysis, plastic bags with the same items are collected from each brown bag, and given to separate groups to make a total count of items for the site (i.e. total number of raisins from all groups combined, total number of peanuts, etc.
Step 8: Class (or site) totals are displayed to students. Each group creates a bar graph or dot plot to represent the information collected for the entire class (or site). The number of each type of artifact found at a site can be an indicator of the various activities that may have taken place there in the past. For example, if hundreds of flint flakes are found at a site, that may indicate stone tool making. If there are a great many mussel shells, that could indicate that people were using mussels for food. If one large shell disc with a hole in it is found, that might indicate that some people were wearing jewelry.
Closure: Finished graphs are posted in the classroom for students to compare. Teacher leads a discussion about how this activity compares to what archeologists really do in the field. Artifacts come out of the ground, so they must be washed and cleaned. They are often in bad shape and hard to identify. A large majority of artifacts are broken pieces. Some are unknown objects, so archeologists must confer with their colleagues and attempt to analyze what the object could be. There are many books about classification of bones, pottery, stone. tools, glass, and other artifacts. Classifying artifacts by type is the first step in archeological analysis. Many other methods, such as carbon 14 dating, pollen analysis, or ceramic analysis, can then be used by archeologists to learn more. Doing archeological laboratory work may not seem as glamorous as other aspects of archeology (some of which is over glamorized): digging in the field, charging off to the jungle, and uncovering ancient ruins. However, lab analysis is a critical part of learning about the past.
Extension Activities: At excavation sites, unusual one-of-a-kind objects that are sometimes found by archeologists are called "uniques." These items are given special treatment in the lab. They are put in a plastic bag by themselves for special analysis by archeologists. Teachers may wish to include larger items such as fruit, candy, or crackers, with only one per bag for students to classify separately. Discuss why these special items might be so important to archeologists.
Student Product: Completed artifact tags and bar graph or dot plot.